WordPress is the most widely used publishing platform around the globe. From lower-profile blogs to corporate news websites, you’ll find WordPress hosting nearly everywhere. Even estimates place over 30% of all websites running on a WordPress engine. At VPSWALA, we make installing and using WordPress simply by offering several ways to do so. We’ve created an easy step-by-step written guide that covers how to set up your WordPress site in just a few quick steps using Softaculous.
Installing WordPress using Softaculous
To Install WordPress, We assume that your domain is connected to the VPSWALA name server.
1) With your account details Log into your Control Panel.
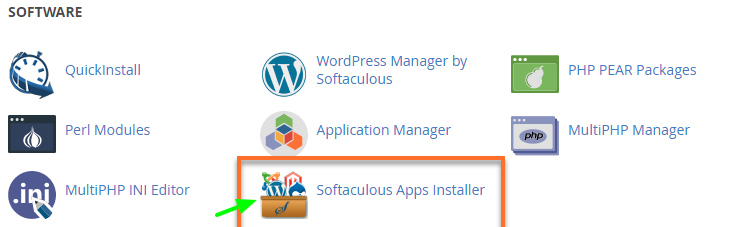
2) Search for the Software section in Cpanel. You will find the Softaculous Apps Installer like the image below.
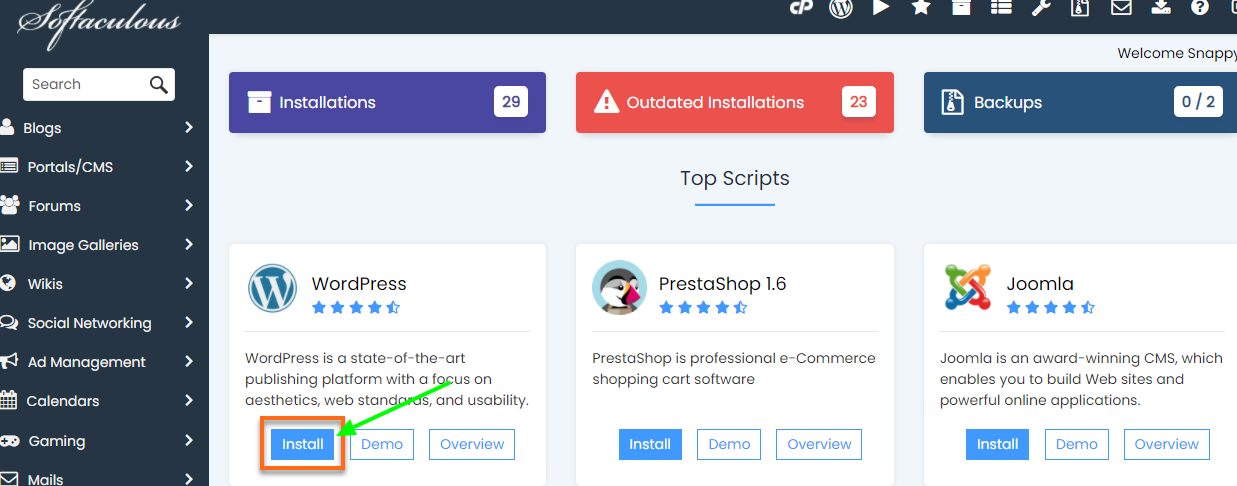
3) On the Softaculous homepage, Go To WordPress and click Install. Make a note on how to use this system, should you require assistance or wish to find out more info about how to actually install WordPress. There are a lot of fields and values that can be set in order for it to go through successfully – it might take about 10 to 15minutes if you are new.
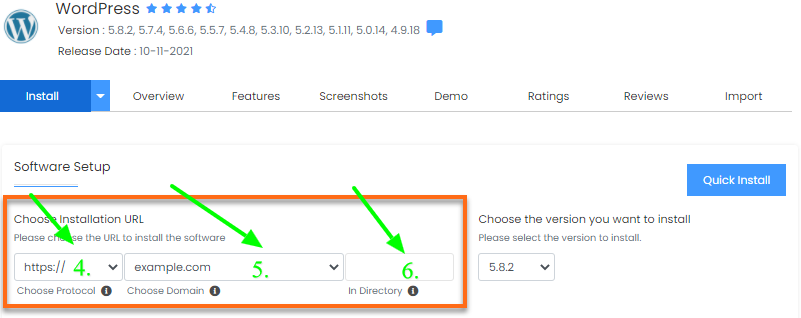
4) In Choose Installation URL section, fill in the desired options. You can choose from https to HTTP. VPSWALA provides a free https (SSL) Certificate. You can choose https here.
5) In Choose domain section select the desired domain you want to install in WordPress.
6) In the Directory section, if you installing on your main URL, leave it blank, if not filled your desired directory
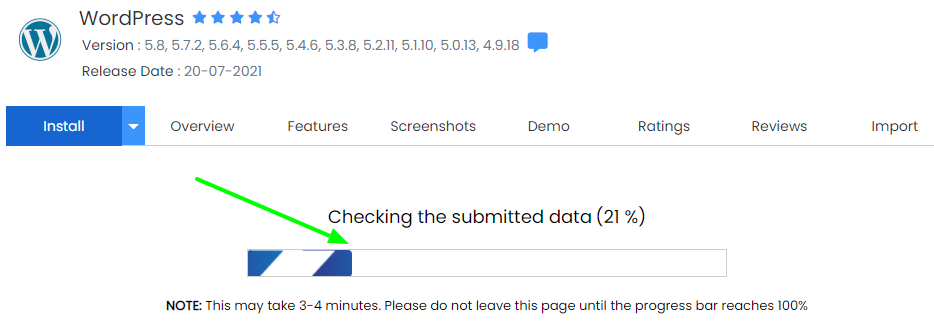
7) Now Complete the rest of the WordPress installation. Choose the version of WordPress you want to install. We recommend using the one released most recently, as it should be the most secure and compatible with themes and plugins designed for a particular version or later ones. We also offer a dedicated support package for WordPress site management where we can handle updates, security, backups, and more so that you are free to focus on your day-to-day activities instead!
8) In the Site Settings section, you’ll need to enter a Site Name. You’ll also need to set a Site Description in the box below that by filling in any details or information that you wish to provide about your site (please do not use excessive symbols when typing as this may cause problems). These fields are completely optional and can be changed anytime after the installation is complete.
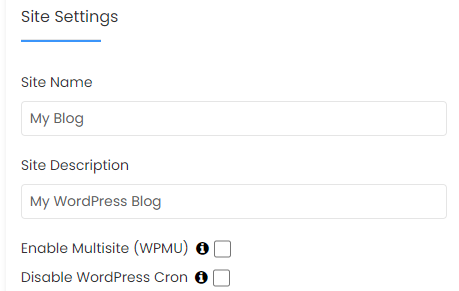
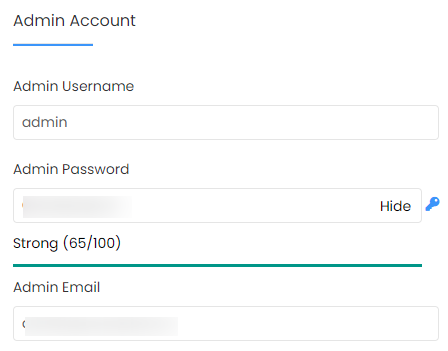
9) In the Site Settings section, you can enter an Admin Username and a Password of your choice. After initial installation these can be changed later on by an Administrator-level person, however, the Username may not contain certain special characters (i.e @ / &, etc) for security reasons. Admin Username: Your email address is the best choice for an admin username, so your site can send you messages. Most people don’t want a username like ‘admin’ for their websites, because this is also the default WordPress username and therefore poses a security risk. So we would suggest using something else to ensure that you aren’t too obvious with your login credentials. Make sure your password is good enough. Admin Email: On this mail your password reset link will be sent.
10) Now choose a language.
11)Select plugins if you want to install any, right away.
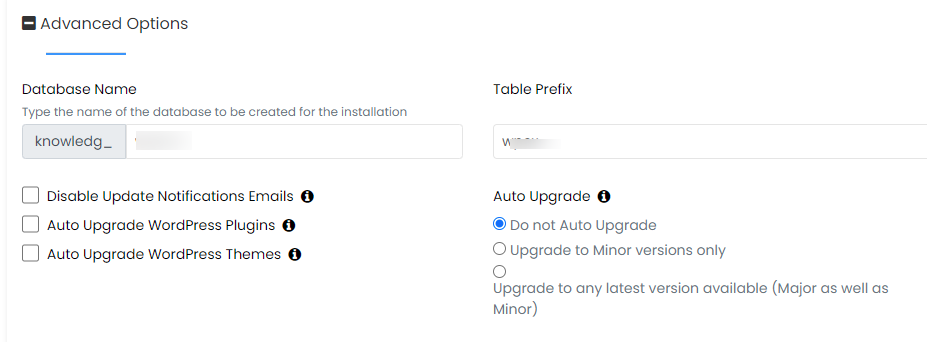
12) We understand that if you’re a novice user, some settings in the Advanced Options section may be confusing, but they are merely optional and include the database name, table prefix, disable update notification email, set automatic upgrade, etc. Let it as it is if you want to.
13) The Select Theme allows you to choose a theme to use for your site. By default, WordPress uses the latest theme on its server, but you can pick any of the thousands available by choosing one that fits the purpose of your website.
14) Once this all is done, just click Install. A progress bar will show your installation status and refresh once the installation is complete. Do not close or stop your browser window while installing, as it can interrupt the process.
15) If all is done correctly and fine, you will see a successful message. now your WordPress site is ready.
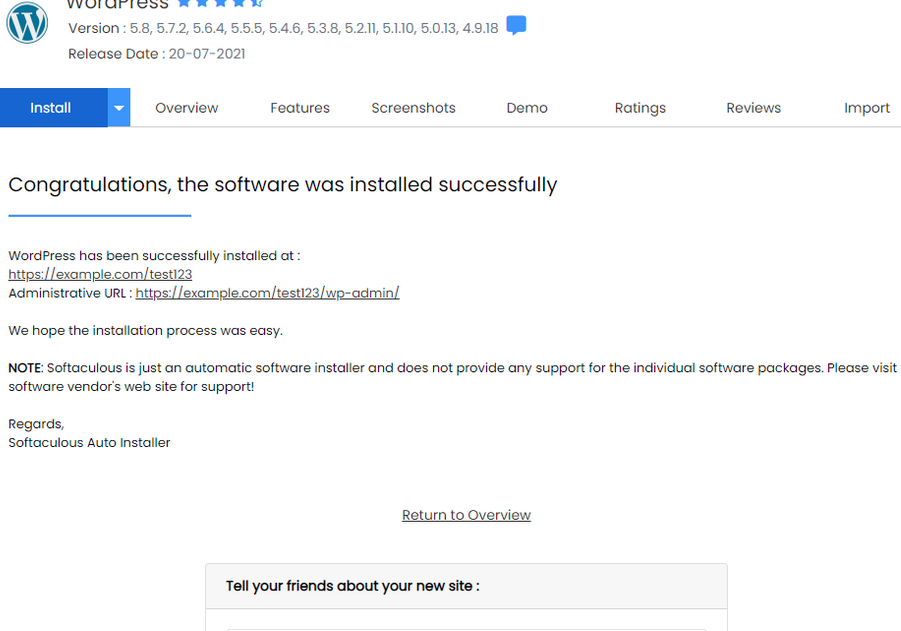
16) It will display your login details and login URL.
17) Login With Your details and customize the WordPress site as you want.