
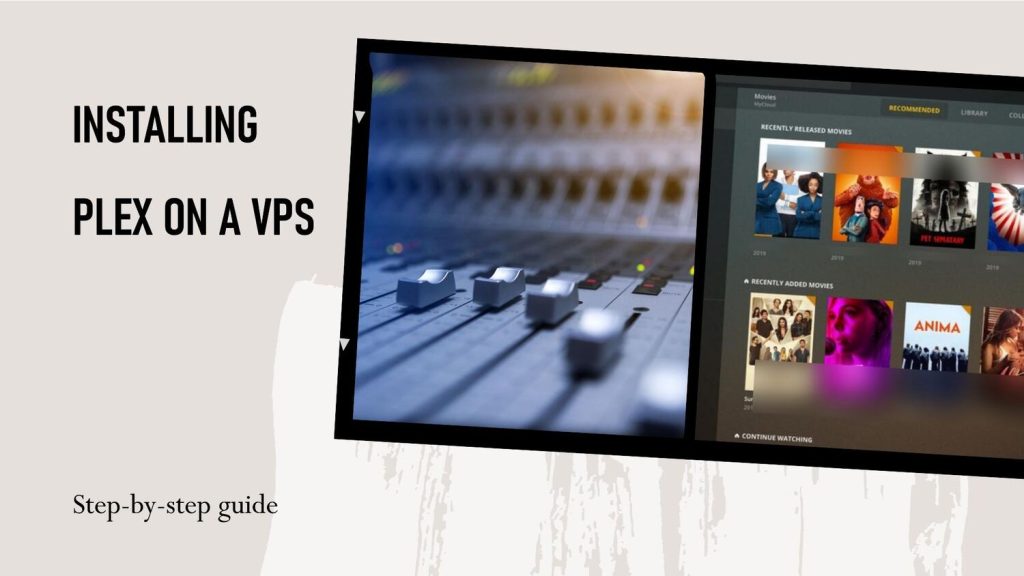
So you want to create your own personal, private Netflix powered by Plex? Good thinking! With your movies, shows, and media hosted in the cloud, you can stream to any device no matter where you are.
Getting Plex installed on a regular computer is pretty straightforward. But transplanting it onto a headless virtual private server takes a little finesse.
Not to worry though – I’ll show you how to get Plex tuned up on a VPS box in no time! Let’s dig in…
A Quick Intro to Plex Media Server
Just hitting the highlights, Plex Media Server (PMS) is basically software that:
Organizes your personal media files (videos, music, photos)
Hosts & streams them to apps and devices
️ Enhances content with metadata, posters, etc.
So in short, it manages and delivers your files with a slick UI for easy viewing pleasure. Ideal as a personal Netflix-style setup accessed anywhere.
Now on to wrangling this media beauty onto a server…
Step 1: Choose Your Host
Since Plex demands some horsepower, you want a host employing robust VPS technology like KVM. You also want storage potential to scale up for housing media libraries.
Some top options ideal for Plex include:
VPSWala – Excellent high-performance yet affordable VPS plans. Developer-friendly with root server access too.
Vultr – Another fast, cost-efficient VPS provider. Includes block storage options.
Linode – Leading VPS host. Plans boast NVMe SSDs and extra storage choices.
You could always grab a managed Plex hosting plan too. But where’s the fun in that? A DIY server setup lets you really tap into power and resources.
Now time to install Plex!
Step 2: Get Ubuntu Running
Since Plex officially recommends running on Linux, we’ll stick with an Ubuntu server install. Most good VPS providers offer Ubuntu images to deploy instantly.
Once your Ubuntu VPS is provisioned, complete these two quick steps:
1. Secure Ubuntu
Harden Ubuntu security with:
sudo apt update sudo apt install fail2ban iptables-persistentExtra protection is key for internet-facing services!
2. Assign Static IP
Provide a static public IP for consistent Plex access via the control panel.
With security tightened and static IP configured, Ubuntu is prepped for Plex!
Step 3: Install Plex Media Server
Now for the real fun – time to install Plex Media Server!
Connecting to your VPS via SSH, run these commands:
bash
curl https://downloads.plex.tv/plex-keys/PlexSign.key | sudo apt-key add - echo deb https://downloads.plex.tv/repo/deb public main | sudo tee /etc/apt/sources.list.d/plexmediaserver.list sudo apt update sudo apt install plexmediaserverThis installs the latest public version of Plex.
Double check Plex successfully loaded by rebooting your VPS then running:
systemctl status plexmediaserver
You should see it active and running! Now time for port setups…
Step 4: Configure Plex Remote Access
To allow remote streaming on Plex, there are a few quick firewall tweaks needed.
1. Allow Plex Ports
Authorize port 32400 for remote Plex access:
sudo ufw allow 32400
2. Enable UPnP
Plex uses UPnP for finding devices, so activate it:
sudo echo "ENABLE_UPNP=yes" | sudo tee -a /etc/default/plexmediaserver
Then reboot Plex:
sudo systemctl restart plexmediaserver
That opens up Plex for external connections to start streaming!
Step 5: Add Media and Enjoy!
Lastly, sign into the Plex web app and get media uploading:
Movies – Upload files or connect to online storage pools with media
Shows – Point Plex to TV show folders to analyze episodes
Music – Add audio files and albums
As your libraries build-up, Plex automatically fetches movie/show data and metadata for a slick viewing experience.
Then start streaming to devices using the Plex apps anywhere – at home, traveling, working remotely – with your robust personal media server humming from the cloud!
Why VpsWala Shines for Windows-Based Plex Servers
I used Ubuntu here since Linux works great for Plex and fits most VPS hosts.
However, for full compatibility with the widest range of media files, codecs, apps and add-on support, a Windows server is tough to beat.
That’s why I recommend VpsWala’s Windows VPS plans for the ultimate Plex media server in the cloud:
Hyper-V Powered – Leverages Microsoft’s blazing virtualization technology for smooth HD streaming.
10Gbps Uplinks – Provides ultra high-speed connections to handle huge media transfers with ease.
Cost-Effective Storage – Add block storage as you scale up media libraries over time.
Apps & Tools Included – Comes pre-loaded with essentials like .NET Framework, Visual C++, DirectX.
Simple Plex Setup – Install and get streaming fast following their friendly Windows guide.
And with full root desktop access standard, you can customize Windows to fine tune Plex performance.
Overall, a Windows server powered by VpsWala’s developer-ready infrastructure makes an unbeatable Plex media hosting environment!
So there you have it – with these steps, you can be racking up countless hours of uptime streaming your own media library worldwide via Plex VPS.

